Deploy a Django app with MySQL
June 1, 2020 | Categories: tech python django deployment tutorials
© Maxkabakov | Dreamstime.com
This is the third post in Deploying Django, a step-by-step guide to deployment for individuals building personal or small Django web projects. If you are unsure whether the deployment method in this tutorial is suitable for you and you want to understand the options better, Deploying a Django app explains what you need to know to make that choice. If you made your app using Django's auto-generated SQLite database you do not need to set up a new database when you deploy your project. SQLite does not need a separate server process to operate: everything that you need to run SQLite is already provided in your Django framework. You can skip this page and go on to configure and register your app with Passenger. In this tutorial you will make a new MySQL user account and set up a database on the remote server, then copy your tables and data from your local MySQL database to the new account. You'll then configure your Django app's production settings to load data from your database on the production server.
Prerequisites
This tutorial assumes you built your Django project locally using MySQL and that you are familiar with the phpMyAdmin user interface. Before you begin, you'll need the following: 1: A Django app, including settings configured for production, loaded to a production server. If you have not yet uploaded your app to the server, set up its dependencies and changed its settings for production, the previous tutorial in this series shows you how to do that safely. 2: A MySQL database storing your app's data. 3: Your app to access its data. You wrote your Django model classes so that the class variables exactly match the columns in your database tables. You tested your app locally and you are confident that your browser views displaying HTML and template variables loading data are working. 4: Some familiarity with cPanel. You know how to log into the cPanel interface and manage your files. Once you have all the above in place, follow the steps below to set up your database and configure your app to access its data.
Configure MySQL in cPanel

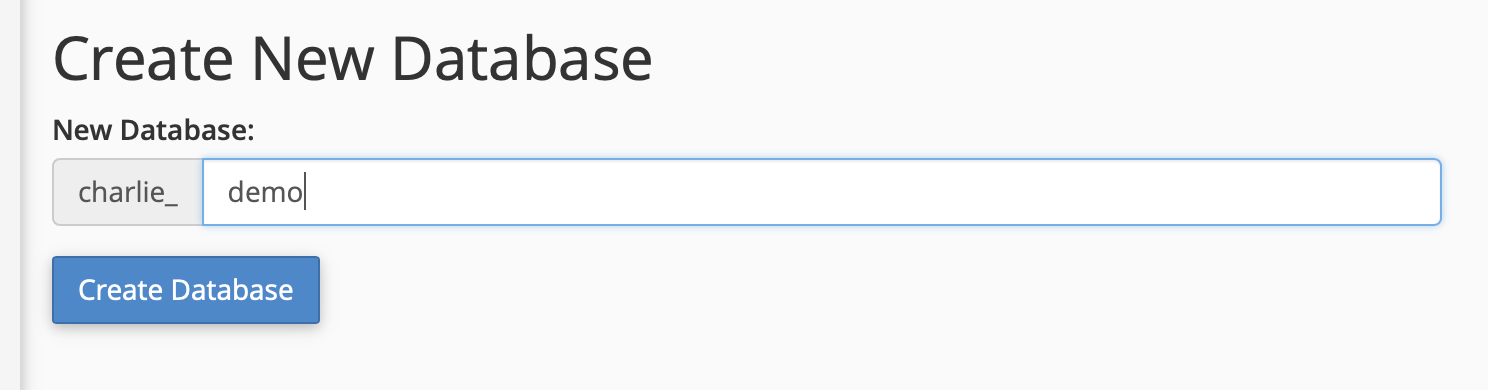
cPanel requires that you create your first database and database user using the Database Wizard. Follow the instructions in the MySQL®DatabaseWizard app if you have not yet set one up. The Wizard will automatically associate the new user and database. In the case this is not your first database on the server, in the databases section of the cPanel interface, click on MySQL®Databases to set up a new database. In the New Database field use the exact same name as the local database from which you are copying data so that when you transfer your data you won’t have to change anything.
If you can't use the exact same name because your production database username is not the same as your local database username, make sure you change the argument to the DATABASES variable in your production settings file accordingly. Create your database. Go to the MySQL®Databases page in cPanel. You should now see your database in the Current Databases list.
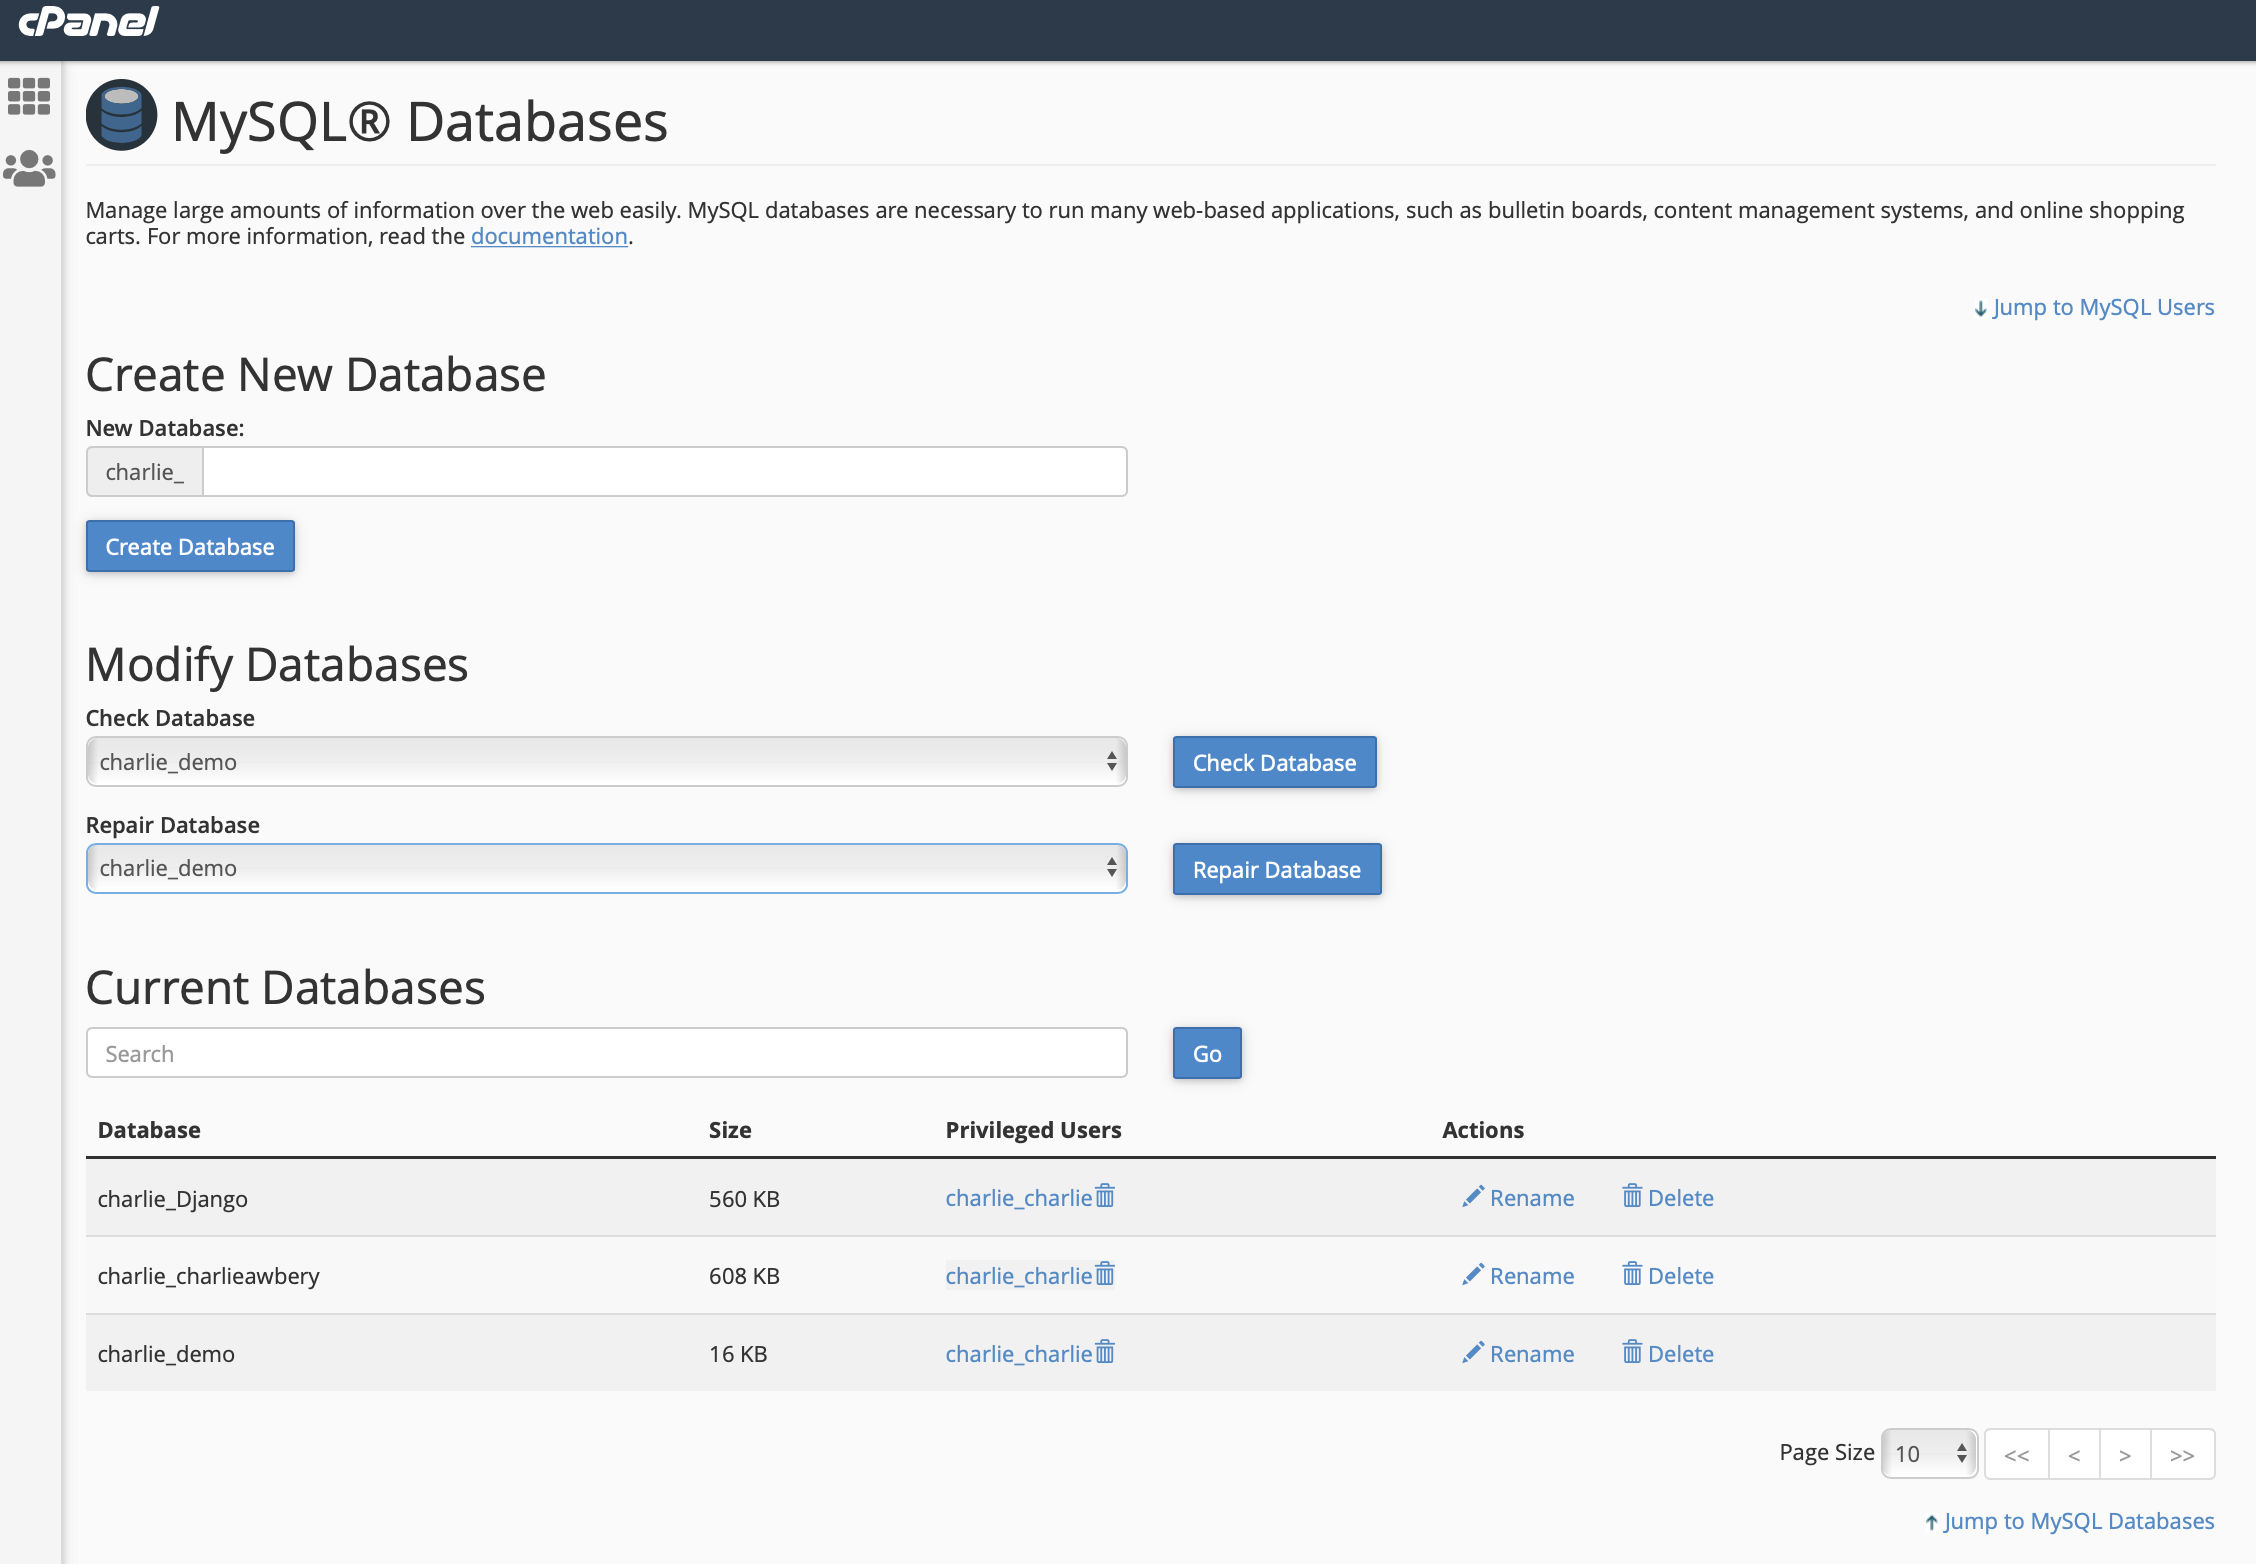
If there are no users associated with your account in the Current Users block, lower down on the same page use the "Add New User" section to create a user account for yourself. Finally, back on MySQL®Databases, at the bottom of the page add your user account to your database:
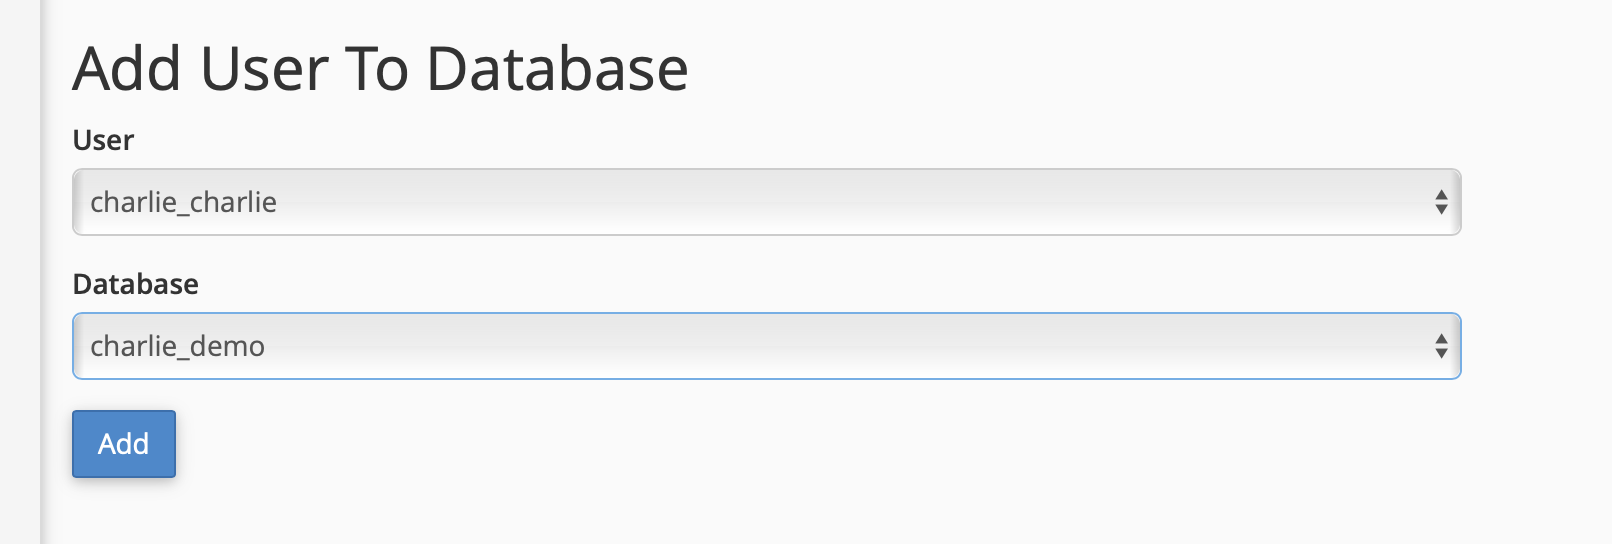
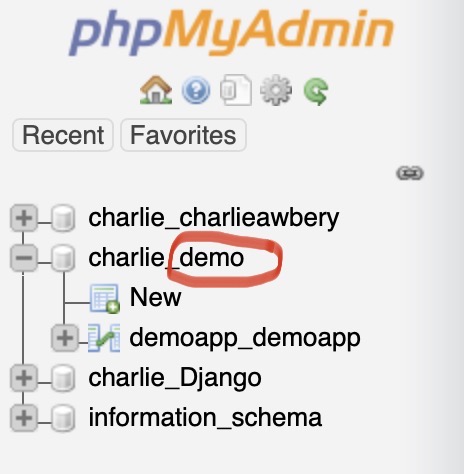
Give yourself all the privileges. Keep a record of your database name, user name and password. Database and user names include the MySQL automated prefix plus the suffix you added, for example charlie_demo and charlie_awbery. Return to the cPanel Homepage and click on phpMyAdmin in the Databases section. You should see your empty database in your server's phpMyAdmin sidebar. Next, copy your local database table and contents to the server-side database. The best way to do this is to sync your Django models with the database using Django's built-in migrations tool. If you are not familiar with migrations, a simple way to do it is to use the Export tab in phpMyAdmin locally. This creates a SQL dump (a text file containing the SQL to make a copy of the table and its data). Import your table to your database on the server. You can either use the Import tab or copy and paste the SQL to make the new table and contents. Make sure you first have your new database selected in phpMyAdmin on the server. Refresh phpMyAdmin to check that the data transfer worked and that your new database table on the server matches your local table: it must have the same column headings and the same table name that you used when you set up your app models. Check that your data copied correctly to the table. Now you have your database built for production and your data ready to load in deployment. Next you'll configure your app to load the data from MySQL.
Configure Django production settings for MySQL
Once you have completed your MySQL database set up, change the settings for the DATABASES variable in productionsettings.py
DATABASES = {
    'default': {
        'ENGINE': 'django.db.backends.mysql',
        # MySQL settings use the name of the db not the path
        'NAME': 'databasename',
        # Name of MySQL user in CPanel
        'USER': 'username',
        # MySQL password
        'PASSWORD': '*!%password*%#',
        'HOST': 'localhost',
        'PORT': '',
    }
}
The database name, username and MySQL password are the ones you set up earlier in cPanel in the first step of this tutorial page. Enter them as strings. The server will use the default port for 'localhost' so use the empty string for the port setting.
Testing
Test your database connection using the MySQL command line interface on the server. Replace the following with your MySQL user, password and database name:
$ mysql --user="charlie_charlie" --password="mySQLpasswordhere" charlie_demo
MySQL will read your table information and output the table data to the terminal. The lines in the output confirming the connection look like this:
Welcome to the MySQL monitor.  Commands end with ; or \g.
Your MySQL connection id is ###
Server version: #.#.## MySQL Community Server (GPL)
Congratulations! If you’ve got this far, you’ve probably already done some troubleshooting :-) In the next tutorial of this series you will configure Passenger wsgi and register your Django app with Passenger in cPanel.
***
Could you follow this tutorial? How could it be better?
I'm grateful for suggestions, please DM me @_awbery_on Twitter with feedback. Thank you!